


After looking at a lot of different engines and seeing the various designs of cooling systems that VW used on the flat fours, I started feinding over the Type 3 setup. It seems more logical to me to have the fan mounted directly to the crank, rather than belt driven and sharing a shaft with the Alt/Gen. And for what I wanted to build, the Type 3 cooling system allowed for more flexibility.
I first junked all of the Type 1 cooling goodies and other pieces of metal that werent going to be brandished on my steeeeeed. While doing so, I noted a lot of differences between the Type 1 complete engine and the Type 3 basketcase engine that I had. First of all, I ran the numbers on my T1 and it apparently is a replacement case after VW merged with Audi. It's a replacement case, yet it's not generic and only accepts a T1 setup. Interesting. It does have dual oil reliefs though.
The idea behind this whole project is a cheap, but clean looking tinker toy. That being said, I intend on trying to use what I have before purchasing anything else. I had a whole T1 and a pile of a T3 engine. Mix it up and see what happens. I ended up with modified T1 intake, custom cooling tins, a T3 shroud and thermostat system, a 100 amp GM alternator, and a T1 distributor. This took a lot of modifications to make work.
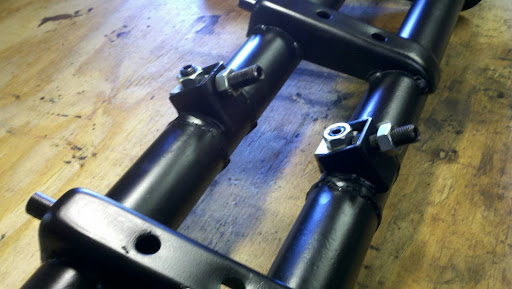
The intake is make from two pieces of prebent galvy conduit and stock dual port manifold castings. In order to run this intake with the neato looking T3 fan shroud, I had to make my own lower profile cooling tins. The original T3 cooling tins incorporated a rise on the left side to cover the oil cooler and a large circular boss on the right side to mount the intake filter. The T1 intake sits very close to the cylinders and interfered with the tins. So off to TSC for some sheet metal. I ended up buying a beater bag and a tear drop hammer so I could form the metal better.
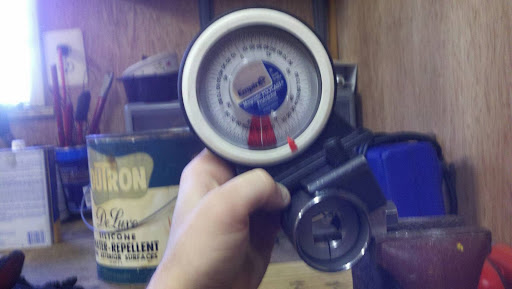
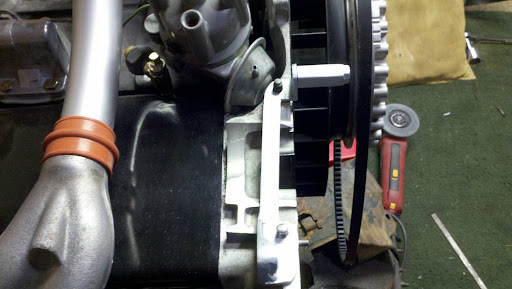
Another issue with running the T3 shroud and curvaceous T1 Dual Port intake is that the distributors were quite different. If I were to run the T3 distributor, the vacuum diaphragm would hit the intake. If I ran a T1 dist, the vacuum diaphragm would hit the fan shroud. Well.... Hmmm. The fan shroud has a lot of room for changes. The intake, not so much. In addition, I already had the fan shroud off for mods to make room for the T1 full flow 26 mm oil pump. I pocketed the back side of the fan shroud in a few areas and reformed it on the inside to keep the airflow smooth and uninhibited. The Distributor is now a pretty tight fit, but very easy to access and work on.
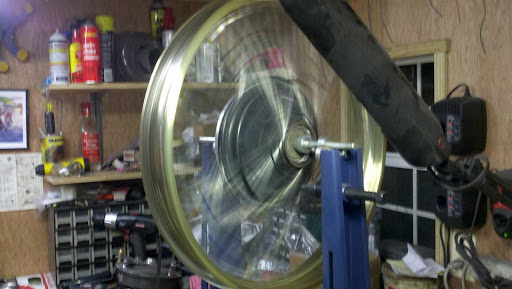
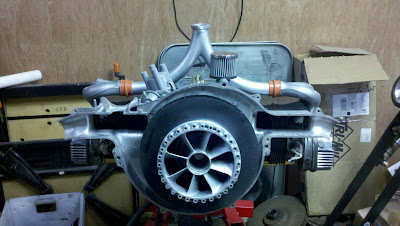
The T3 fan shroud was heavily modified because of the GM alternator and the fact that I wasnt running all of the tins that were OEM. The mounts and bosses for the pulley casing were removed and the bore for the original generator were cut out to make room for the GM alternator and tensioner. Once the modifications were finished to the fan shroud, I sand blasted and wheeled the aluminum. This lead to a clear sign that the shroud backing and front were two different qualities of aluminum. With the same finishing treatment, the fan shroud backing was a dull gray (what I wanted). The front plate was gloriously shiney. Damn. The front plate came off of a different engine that I got from a friend of mine. To dull it up, I scuffed the crap back into it with a 3m pad and hoped for the best. It turned out ok.
Fan shroud on, fans and pulleys in place, intake mounted, various tabs bolted down, thermostat calibrated, bla bla bla. Ohh and a lot of degreasing. It is a VW after all. I really like the way this engine turned out. It's pretty funky looking. For someone who knows what they're looking at, it's an interesting piece of work in my opinion. I'll be happy to see it in the buggy soon.
Please let me know what you think. Sadly I forgot to take a picture of the engine completely together. ill add one later.
Also, Sorry for the lack of posts. I've been settling in to a lot of new things recently. Now that my son is a little over 4 months old, I've put him to work and it's helped increase my time in the garage. I'll be able to post up more pointless babble thanks to good ol' child labor!!!
Published with Blogger-droid v1.7.4